One of my colleagues comes out with some cracking quotes occasionally. Worried about letting these words of wisdom go unappreciated we started keeping a notebook of his best ones.
When it came time for our Christmas party it seemed fitting to present these in some way. I came up with the idea of creating a “Quoter of the year” award, and even better having the award scroll through the quotes we had collated.
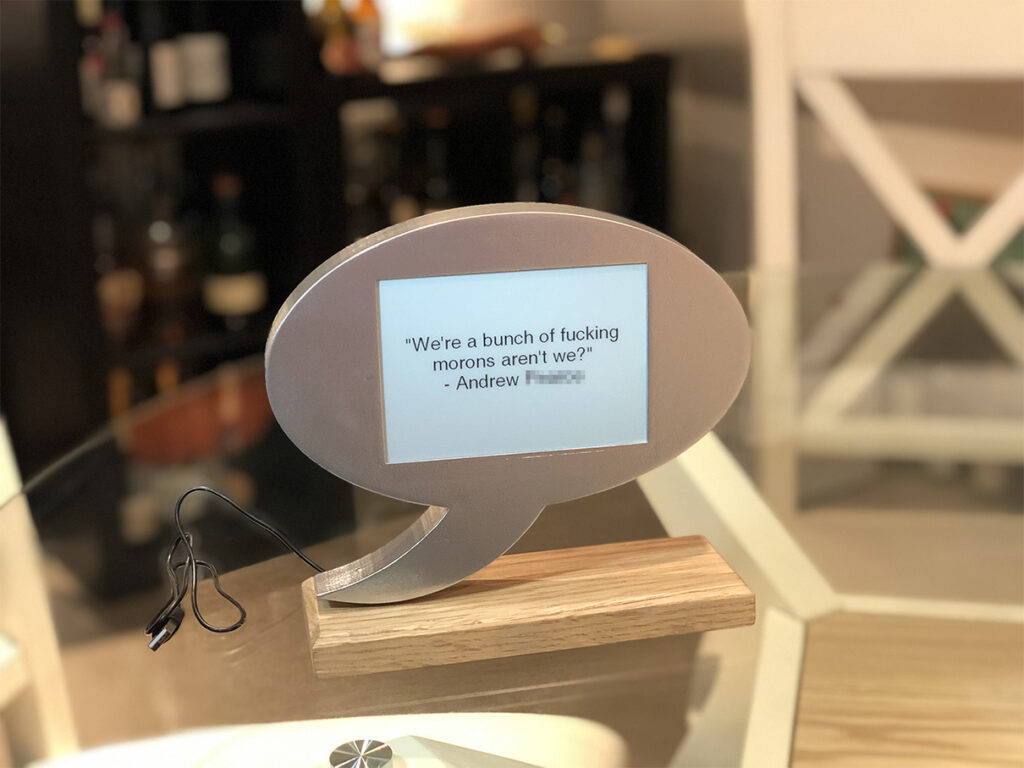
What I ended up with was a Raspberry Pi Zero powered trophy with an e-ink display. It is WiFi enabled, so new quotes can be added easily.
To start off I knew I wanted to use an e-ink screen, as it seemed like the appropriate medium to convey the quotes, and would look the most like paper.
I found a 6 inch display from waveshare that looked perfect. It also came with a connector (or “HAT”) for the Pi, and it would use SPI to communicate.
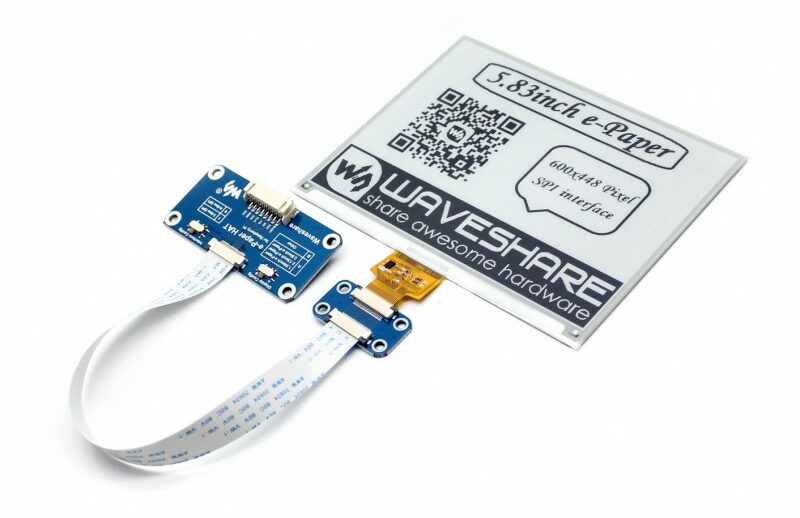
It was easy enough to connect the HAT to the pins on the Pi. Waveshare provided instructions and prerequisite information for getting the system hooked up.
With a few tweaks to the demo source code I was able to get the screen to draw some shapes.
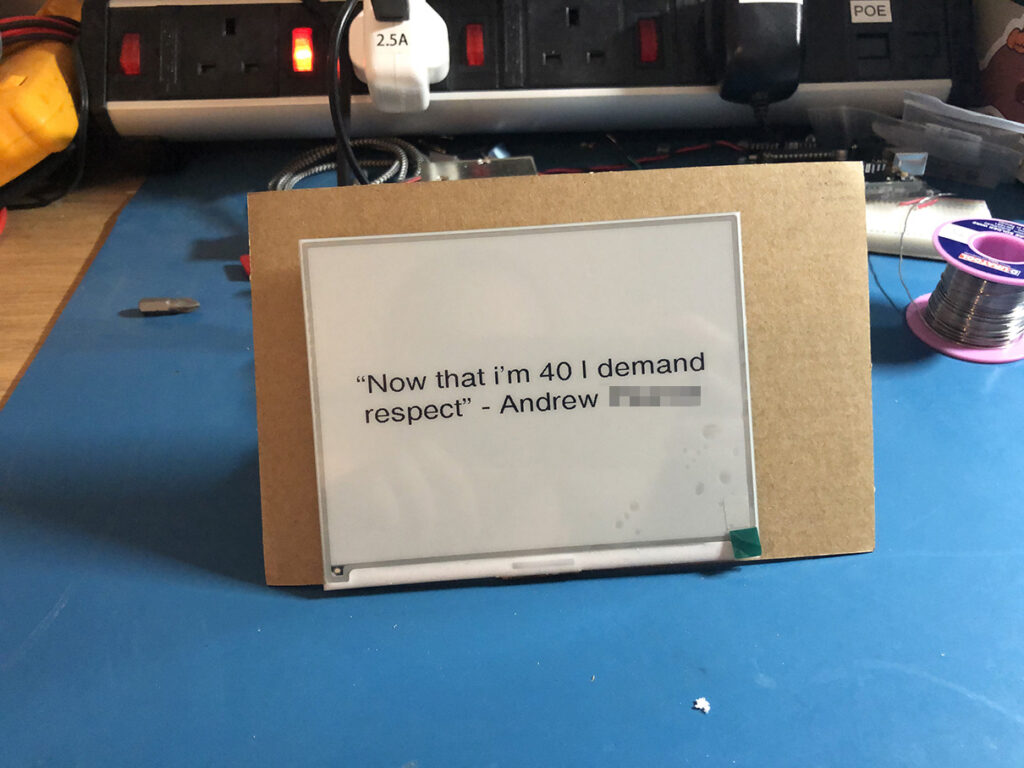
In order to display the quotes I loaded a font file on the system and wrote some Python to read a plain text file and iterate through each line and write it to the screen, pausing for 30 seconds at a time.
python code goes hereIt was an exciting moment when the screen refreshed for the first time displaying one of Andrew’s pearls of wisdom.
Now that I had the dimensions of the screen, I could start to design the rest of the trophy. I came up with 3 designs and put it to a vote:
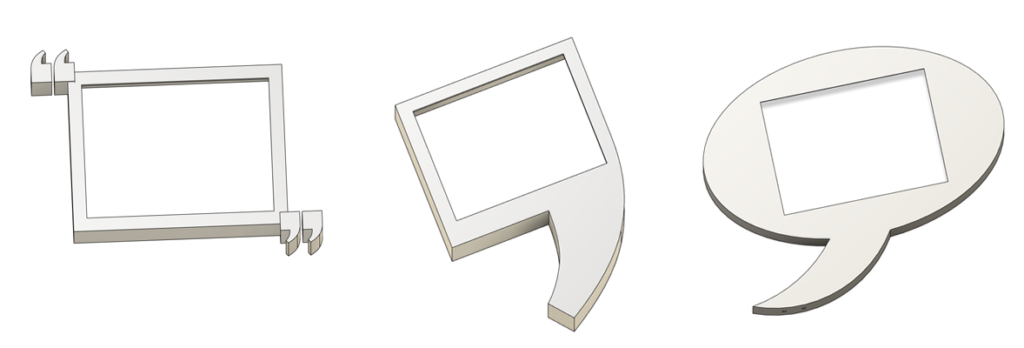
Design 3 won by a clear margin.

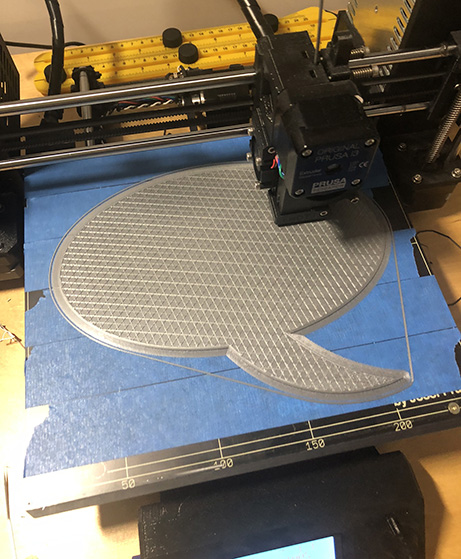
I set about printing this in silver PLA plastic. I use OctoPrint to remotely control and view print jobs sent to my Prusa i3 MK2 printer. Its’ a fantastic piece of software and even comes with a Mobile app you can use to check jobs while out and about.
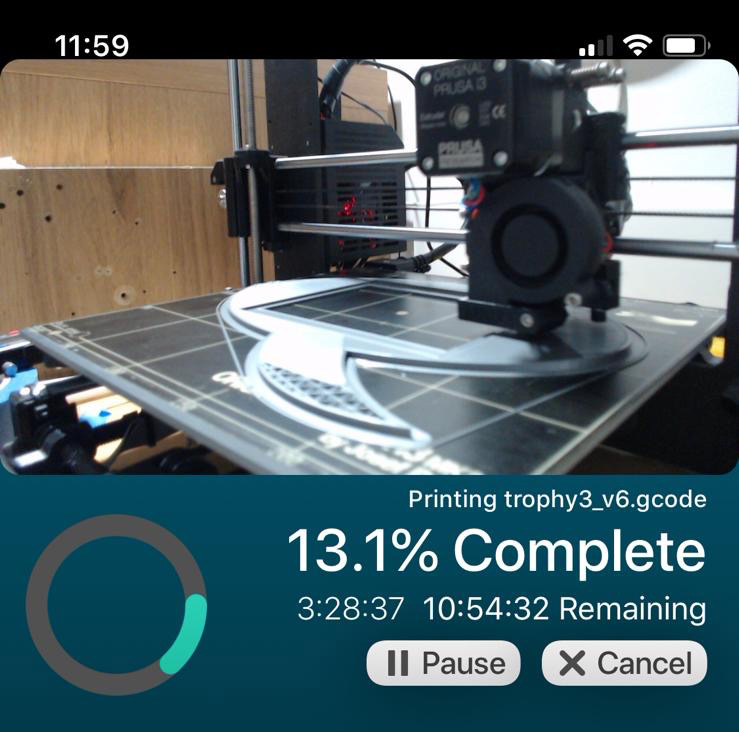
Unfortunately my first print failed midway through due to the base lifting at one side. The usual fix I employ for this is to cover the print bed in blue painter’s tape. This creates a rougher surface and gives the plastic more chance of adhering to the print bed.
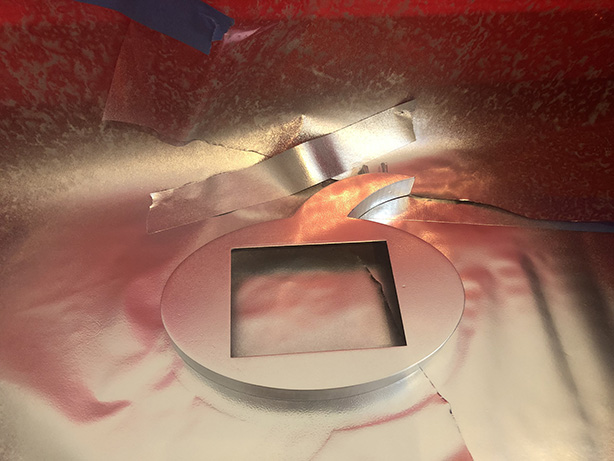
After the print had finished I sanded it down, working up to 3000 grit sandpaper to get a really smooth surface. It was then time to give it a touch of paint to make it really stand out. I gave it two coats of chrome spray paint.
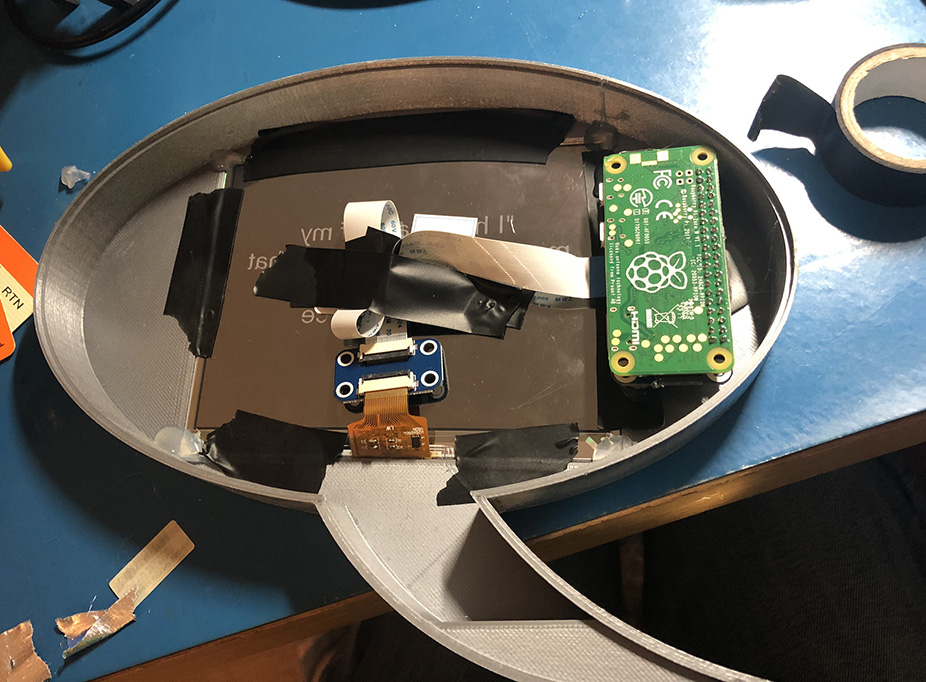
The screen and Pi fitted nicely inside the trophy. A little bit of hot glue on the corners of the screen and some electrical tape held the screen in place.
I printed a backing panel to seal it all up and then attached the encosure to a wooden plinth using two metal pegs. I used a USB cable to power the unit, but the beauty of e-ink displays is that the text remains even when the power is removed.

The trophy was presented to much applause and was received well. I am told it remains pride of place on Andrew’s mantel piece.